Concepts
3D printing infill: which pattern and percentage to use
Almost no 3D printed part is solid inside. What sits between the walls is the infill: a light structure that saves plastic and time. Choosing its percentage and pattern well is one of the decisions that most affects how long a print takes, how much it uses and how much it can take. Here's what manufacturers recommend, without the myths.
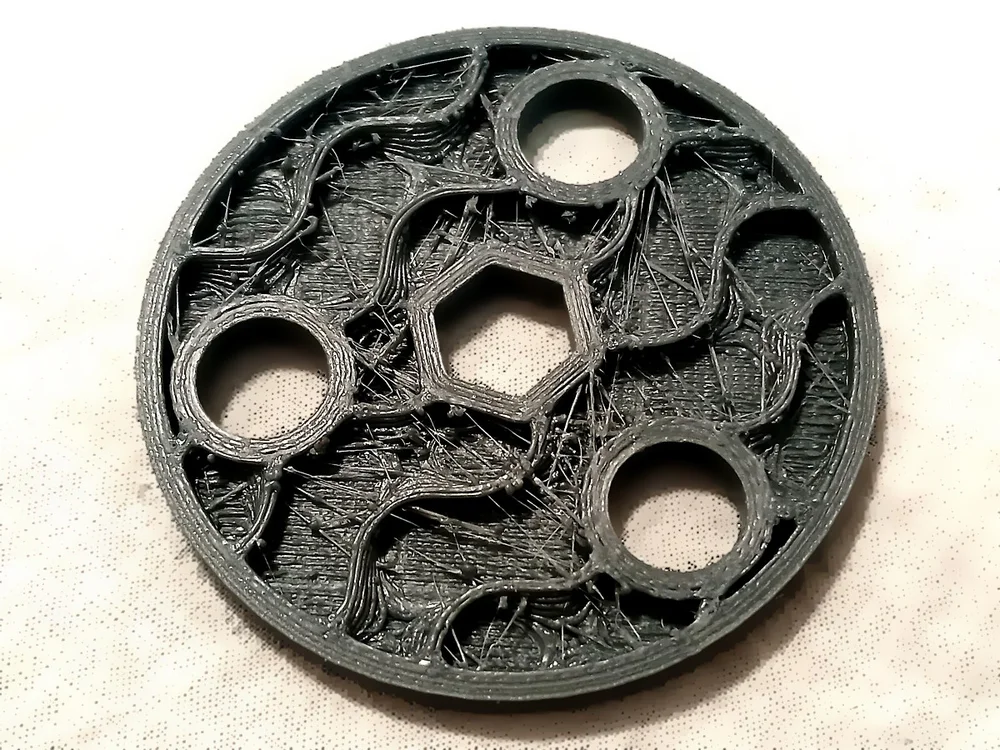
What infill is for
According to Prusa, infill gives internal support to the top layers: without it, the top of the part would have to bridge over empty space and would come out with holes. It also adds rigidity and compression resistance. What it does less than people think is overall strength: that depends mostly on the walls, as we'll see.
Which percentage to use
Prusa's recommendation, based on its testing, is clear: 10% to 20% is the best balance of strength, reliability, time and material, and it's the value used in its PrusaSlicer profiles. A few more reference points:
- 5% or less: can be enough for large, simple PLA parts (Prusa).
- 10-20%: the default for almost everything.
- Above 20%: you gain toughness, but Prusa notes you can get the same with more perimeters. And it almost never makes sense to go past 40%.
- 100%: for small parts that must be solid, or for lithophanes, where any pattern would show against the light.
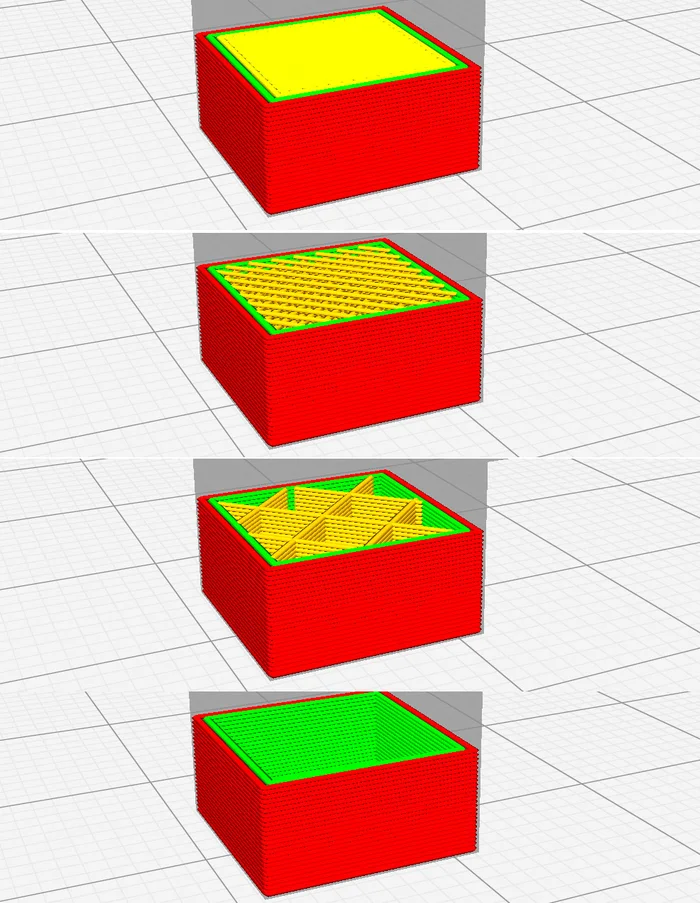
Want a stronger part? Add perimeters before infill
It's the most common mistake: raising infill to 60% so a part holds up better. Prusa explains it in its guide: above 20% you gain toughness, but the same effect comes from adding perimeters (the walls around the part), with less plastic and less time. If a part breaks, first try going from 2 to 3 or 4 perimeters.
Infill also works the other way: with TPU, less infill and fewer perimeters give a softer part.
Which pattern to pick
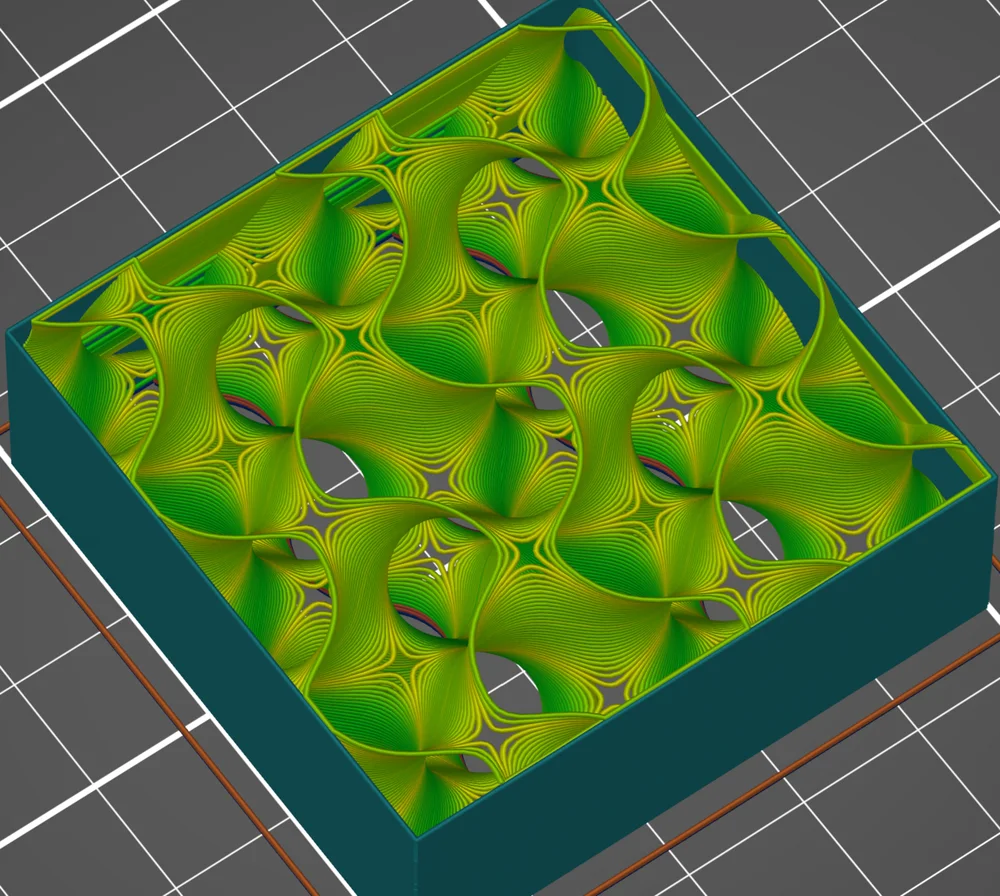
Gyroid
Functional parts loaded in any direction
A 3D structure with equal strength in all directions and a good strength-to-weight ratio; it doesn't cross itself within a layer.
Rectilinear
General use and 100% infill
Alternates direction by 90° each layer, doesn't pile up material at crossings and is one of the fastest. It's the only one Prusa recommends for 100%.
Grid
Simple, fast parts
Very simple and fast, but it crosses its lines within the same layer and piles up material at those points.
Cubic
Parts that should insulate or float
Builds corner-down cubes with lots of air pockets: it insulates and, in watertight materials like PETG, can make the part float.
Lightning
Decorative parts
A branching structure that only supports the top layers: the lowest material use and print time of all, but no internal strength.
The descriptions summarise Prusa's pattern guide. Names may vary a little between slicers: in Bambu Studio, for example, it's under Process › Strength › Sparse infill pattern, according to Bambu Lab's documentation.
Quick summary
- Decoration: lightning or grid, 5-15%.
- General use: gyroid or rectilinear, 10-20%.
- Working parts: gyroid at 15-20% plus more perimeters.
- Lithophanes and solid parts: 100%.
Frequently asked questions
- What infill percentage should I normally use?
- Between 10% and 20%. It's the range Prusa considers the best balance of strength, reliability, time and material, and the one used in its PrusaSlicer profiles. For large, simple PLA parts, even 5% can be enough.
- Does more infill make a part stronger?
- Up to a point. According to Prusa, above 20% you gain toughness, but you can get the same effect by adding perimeters, which is usually more effective. It almost never makes sense to go above 40%.
- What's the best infill pattern?
- For parts that must resist load in any direction, gyroid: Prusa describes it as one of the best, with equal strength in all directions and a good strength-to-weight ratio. For decorative parts, lightning saves more material and time than any other.
- When should I use 100% infill?
- For small parts that must be solid or where no pattern can show through against the light, such as lithophanes. PrusaSlicer automatically switches the pattern to rectilinear when you set 100%.
Sources
- Prusa Blog — Everything you need to know about infills
- Prusa Knowledge Base — Infill patterns
- Bambu Lab Wiki — Locked Zag (where the infill pattern lives in Bambu Studio)
- Images from Wikimedia Commons, with author and licence in each caption.